2 - NiFi: UI, Processors, and Flow
NiFi: UI, Processors, and Flow
Objectives:
- NiFi Web UI Overview
- Create a processor and flow
- Start a flow
NiFi Web UI Overview:
First things first, fire up your local NiFi instance by running the run-nifi.bat file in the bin folder. If you are new here, starting up the instance is detailed in the previous blog.
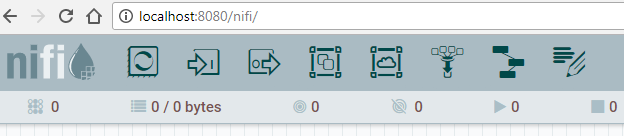
Open up a web browser and access the NiFi UI on your local machine by going to this url: http://localhost:8080/nifi
You should see your empty NiFi flow which is in the root Process Group. A NiFi Flow is the whitish grid area. This first flow is in the root Process Group, meaning everything is contained within this initial root flow. Process Groups can be nested within each other, so we can make Process Groups within the root Process Group...
Your screen should look like this:
| Blank NiFi UI |
On the top dark blue bar, you have several buttons that can be used to drag various items into your NiFi Flow. Those items include: Processors, Ports, Process Groups, Funnels, and Labels can be added to a NiFi Flow.
Within the flow itself there are two panels, Navigate and Operate which are used to move about the flow and to start, stop, and configure the flow, respectively.

Finally in the top right are more menu options. These don't usually concern the current flow and the options included in this menu aren't frequently used. That said, they handle important background information that we may need to look at from time to time.

Before moving on to creating our first processor, you may want to click around and explore the UI on your own. Hopefully you will be able to learn through the steps I provide, but let's be honest- I've never done this before, you've never done this before, you might find it helpful to click around a little bit.
Side Note: Keep in mind that future updates to NiFi may change the UI. If you look for past versions, you will see that this is a fairly refreshed version of an older predecessor.
Creating a Processor and Flow:
Moving on! Let's FINALLY get a flow!
Use the first option on the top bar to add a Processor. You will get a dialog to pop up with a list of processors:
 |
| Add Processor Dialog |
As you can see, there are tons of processors. Use the search bar in the top right to search for GenerateFlowFile Processor. It will appear in your flow with the warning sign next to the name of the processor as so:

Repeat the same procedure and add a LogAttribute processor. It should look similar to this:

Next we want to connect them. Hover over the middle of the GenerateFlowFile Processor, you will see a down arrow. Click and drag this over to the LogAttribute Processor to connect them. It should look something like this:
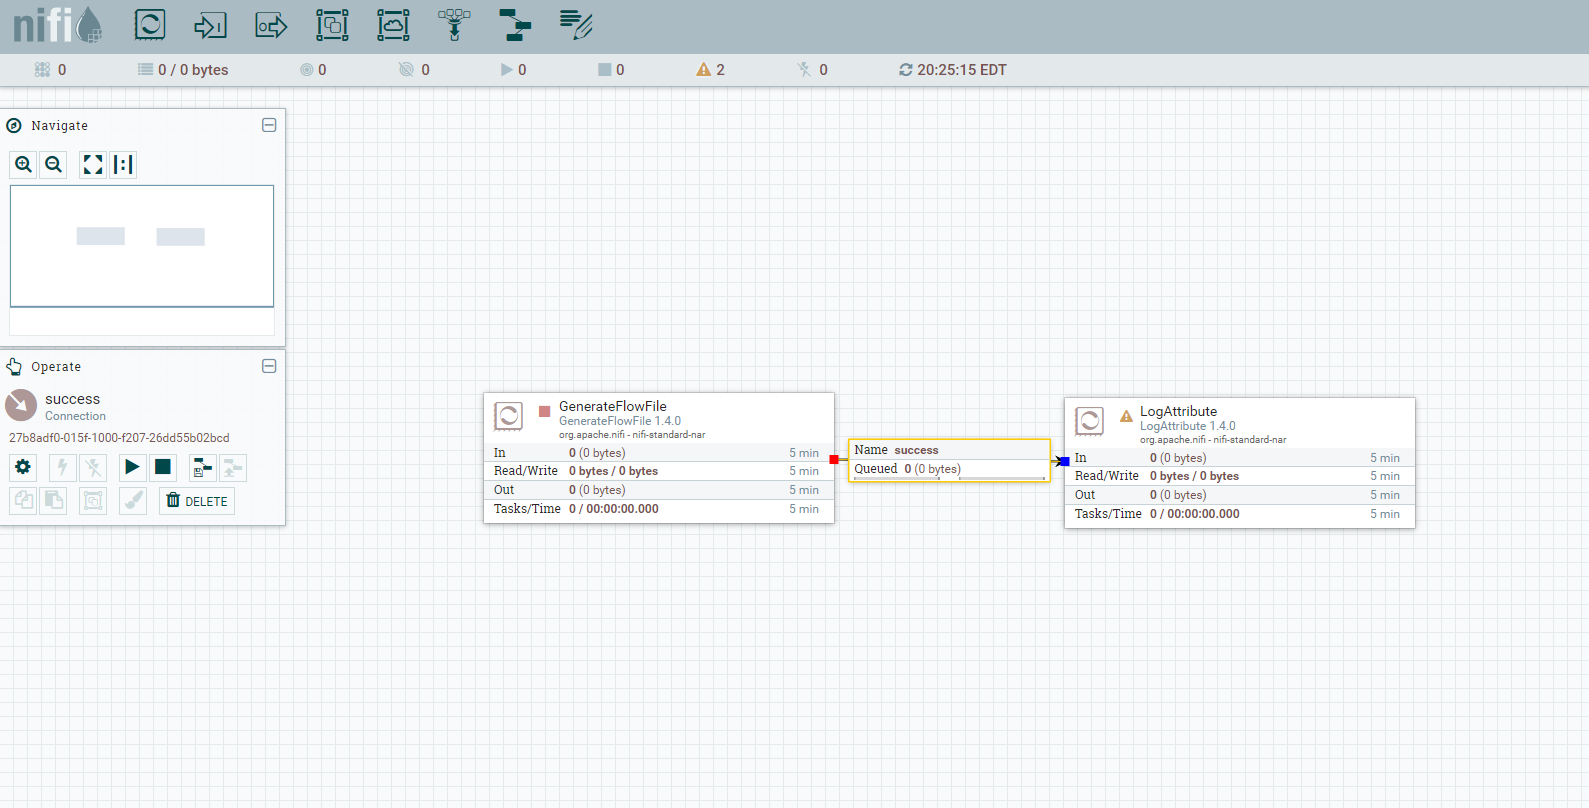
There's a problem with our flow. The LogAttribute Processor doesn't know what to do when it successfully receives a FlowFile from the GenerateFlowFile Processor. Right Click on the LogAttribute Processor, and click on Configure to open Settings:

Check the box to terminate relationships on success... as pictured below:

When you return to your flow, you should see the red square next to the name of each Processor. This means they are stopped and ready to be started.
Starting the Flow:
There are several ways of starting a flow. One can start the entire Process Group, start each processor individually, or select a group of processors to start. Let's start by starting the entire Flow. To do this, click anywhere on the grid part of the flow. Look at the Operate panel to make sure you have selected "NiFi Flow: Process Group"

You can then press the Play image and they will start. Refresh the page for instant feedback.

Great work! You started your first flow in Apache NiFi!
Right click on the GenerateFlowFile Processor, in the menu that pops up, click Stop. Because LogAttribute is still running, the Queue will go to 0.

You now know how to stop and start each processor individually by right clicking on them.
Final note: Right click anywhere on the grid part of the flow. You can start and stop the entire flow in this menu without clicking on the operate menu. You can also refresh the page in this dialog.

Feel free to explore further with the GenerateFlowFile Properties. You can generate files with a custom Text, and of various sizes. Keep in mind that NiFi allocates 0.5 GB of RAM to your NiFi instance, so if you go crazy with the file size you may crash the flow... but that's okay, find your limits.
Don't forget to turn off your instance when you are done.
Don't forget to turn off your instance when you are done.
Next time:
Thanks for reading this blog.
For next time we have some options, we can either go straight to the GetTwitter Processor or we can learn about Templates and do some more interesting stuff with GenerateFlowFile Processors. If there is no clear preference I will be jumping straight to the GetTwitter Processor and sending the results to a folder on the local machine.
Until then,
take it easy, Dude.


For this post I found it very interesting how you are able to start a flow. I would really like to experiment the differences between starting the different options for flows. I found it interesting based on your tutorial how easy NiFi makes starting and stopping an instance for the user. In future posts, I would love to see maybe what different kinds of processors do. There are a plethora to choose from, and I look forward to learning about the GetTwitter Processor. This is very neat!
ReplyDeleteThis is incredibly useful. I know a lot of issues some companies are facing pertain to ETL'ing data, and this seems to really solve those problems.
ReplyDelete